ubuntu重新配置pwn环境
重新安装好了镜像文件之后,先去换源,上一个文件已经写过怎么把ubantu换源的方法,还原之后要更新一下apt
命令:apt update apt upgrade
安装python
首先进入root用户(当然愿意在命令前加sudo也可以):
1 | su - root |
然后执行所有升级:
1 | apt update |
安装编译Python源程序所需的包:
1 | apt install build-essential -y |
进入应用目录
1 | cd /usr/local/bin |
下载python 源程序压缩包,各版本链接可以在官网 获取,这里以3.9.0为例
1 | wget https://www.python.org/ftp/python/3.9.0/Python-3.9.0.tgz |
配置
1 | cd Python-3.9.0 |
编译和安装python
1 | make |
安装完成后,输入python3,如果进入python命令行就说明安装成功了
安装vim
命令:apt install vim
安装sublime-text
直接在software软件下载就好。
下载的时候发生报错,发现是没有安装 ca-certificates 的软件包 :
命令:sudo apt install ca-certificates
3.安装LibcSearch
1 | git clone https://github.com/lieanu/LibcSearcher.git |
这里有一个报错就是python的版本问题,直接改为python3就可以运行了
4.安装qemu
使用apt list qemu*可查看所有前缀为qemu的包。可以看到这里有很多支持不同架构的qemu。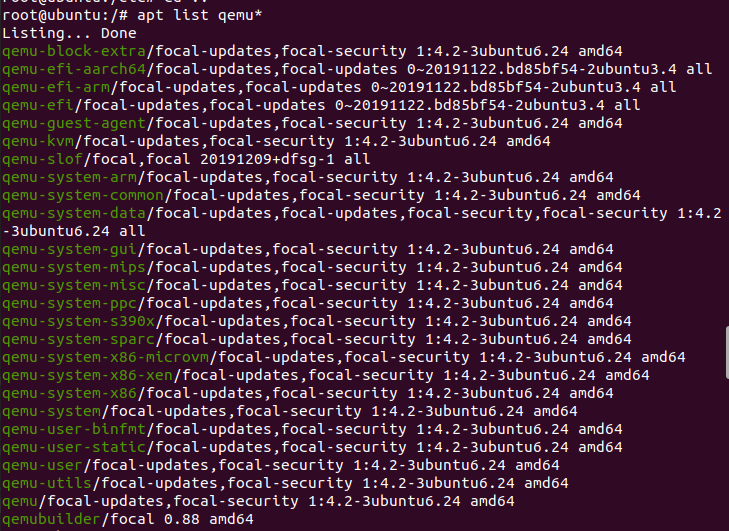
根据自己的需要安装对应架构的包即可。一般最为常用的是x86架构:apt install qemu-system-x86,注意不能只输入apt install qemu。
5.安装pwntools
pwntools是pwn最常用的一个python包。
首先需要安装pip:apt install python3-pip
然后安装pwntools:pip install pwntools
完成
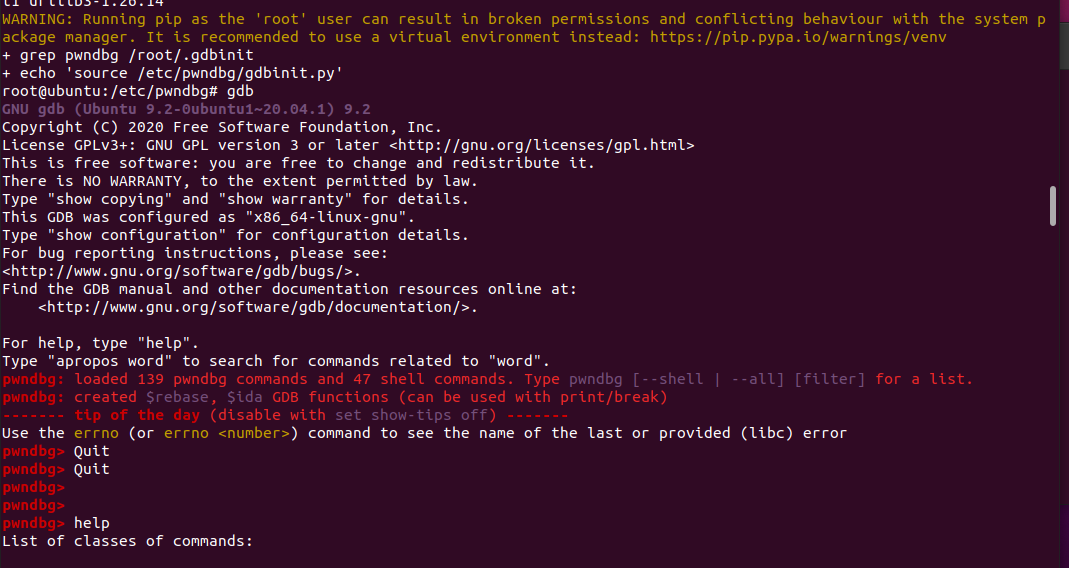
6.安装pwndbg
首先就是直接使用的git clone的方法
pwndbg是gdb的插件,帮助我们在做题时进行调试。
首先安装git:apt install git
然后拉取git库:git clone https://github.com/pwndbg/pwndbg
进入pwndbg目录下,运行bash脚本./setup.sh开始安装
https://github.com/pwndbg/pwndbg 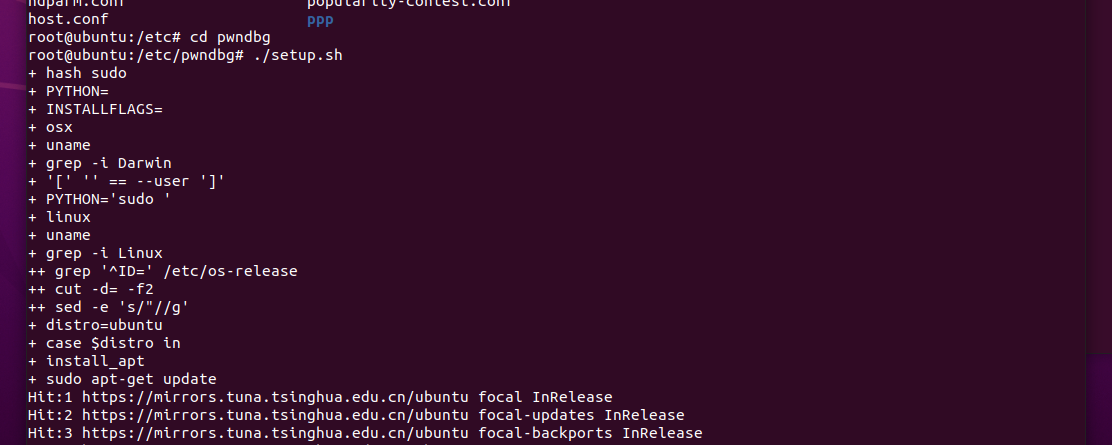
后面就有了dbg的标识,但还是有报错的信息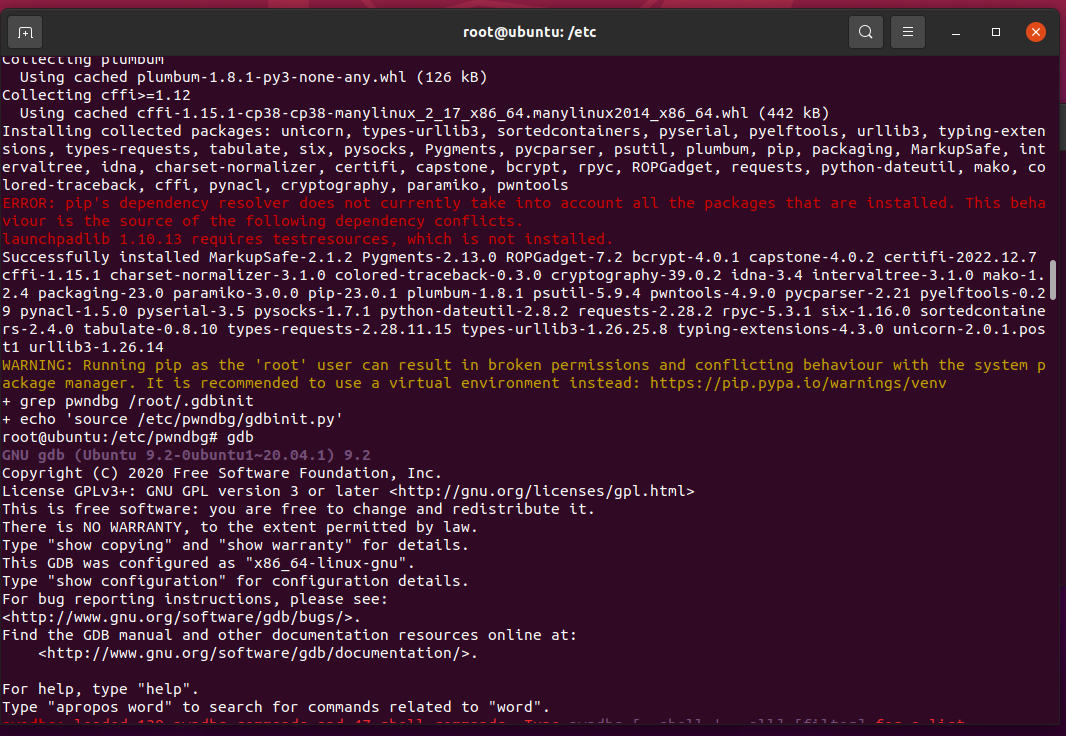
有这样的报错貌似没啥关系,但还是可以修的
直接在~下输入pip的命令python3 -m pip install launchpadlib
dbg退出命令:quit/exit
敢说一下午搞了这个啥也不是
一开始报的错误是超时的错误,听说可以在ubantu虚拟机里搞一个梯子挂着,clash for Linux最后尝试失败,不知道是订阅的链接失败还是说下载安装的方法出现错误
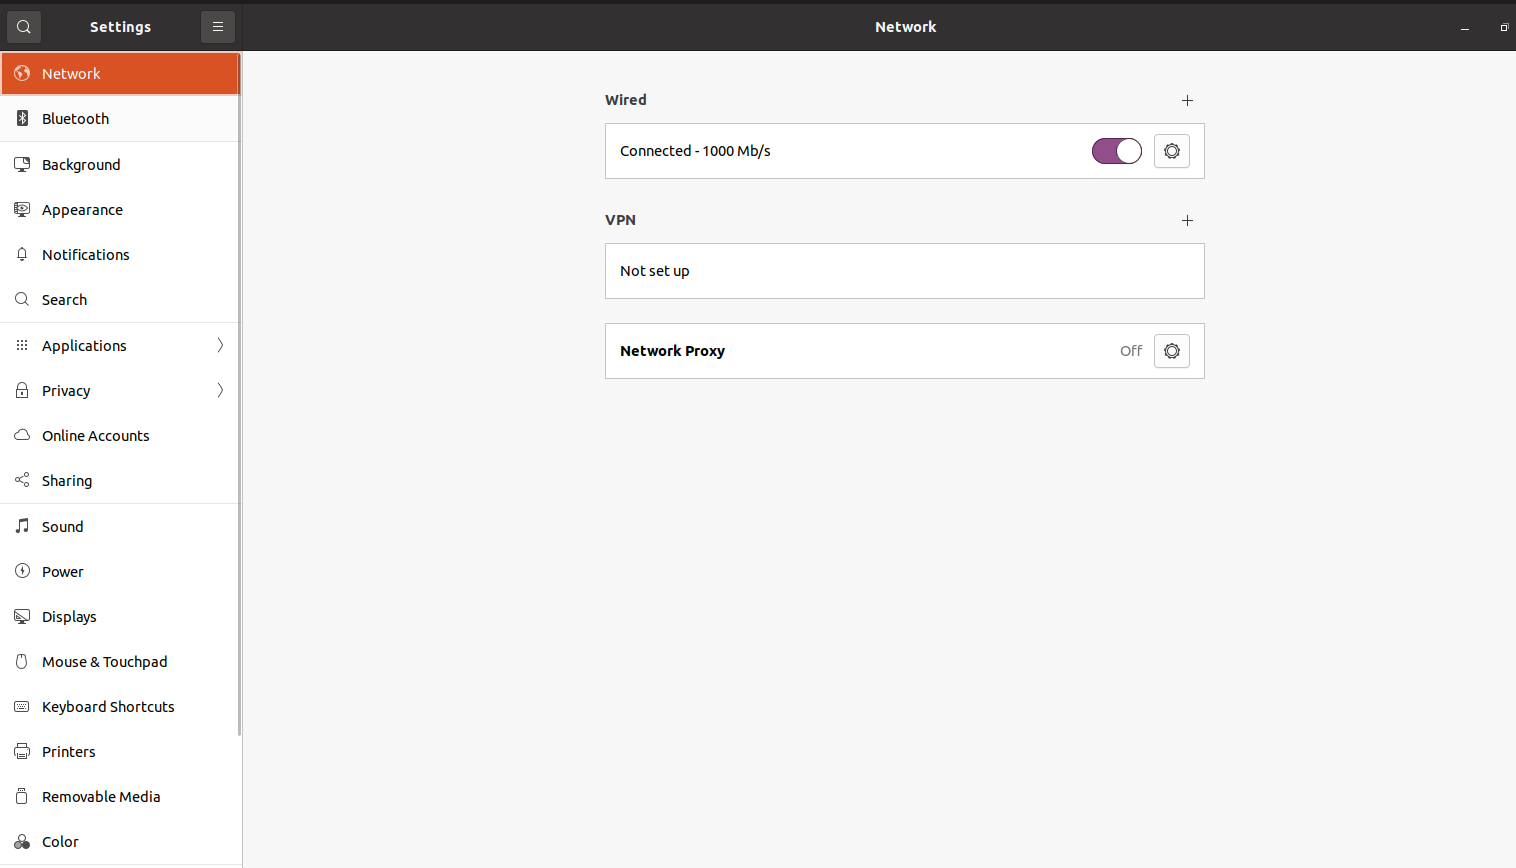
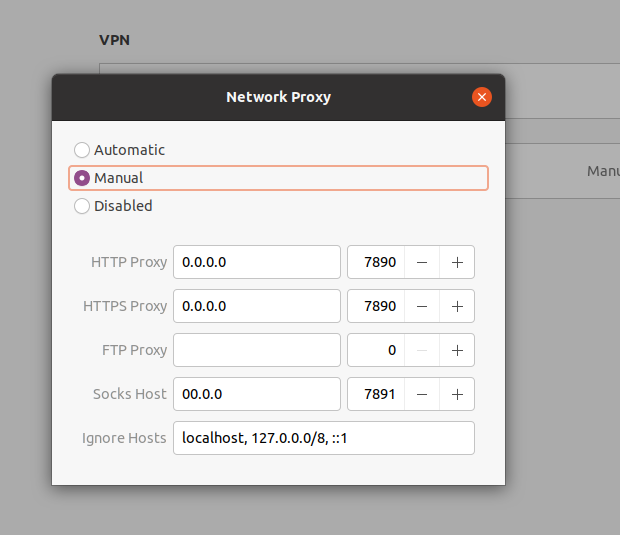
还有就是ubantu网络的代理设置:
设置栏的网络的地方,选择work proxy的选项
用手动的设置代理的ip和端口。要看当时clash for linux报的是什么端口。
第二个就是使用git ssh免密安装的方式,但貌似还是不成功。
同时有几种方法,还是具有借鉴作用的:
M1: https://github.com/pwndbg/pwndbg 将https换成git也就是换成git://github.com/pwndbg/pwndbg
M2:取消代理的方法,没试过 不会https://blog.csdn.net/dashi_lu/article/details/89641778
M3:
- 安装git:
sudo apt-get install git- 配置用户信息
$ git config --global user.name "your name"$ git config --global user.email "your email address"
- 初始化本地仓库设置
git init通过ssh连接github
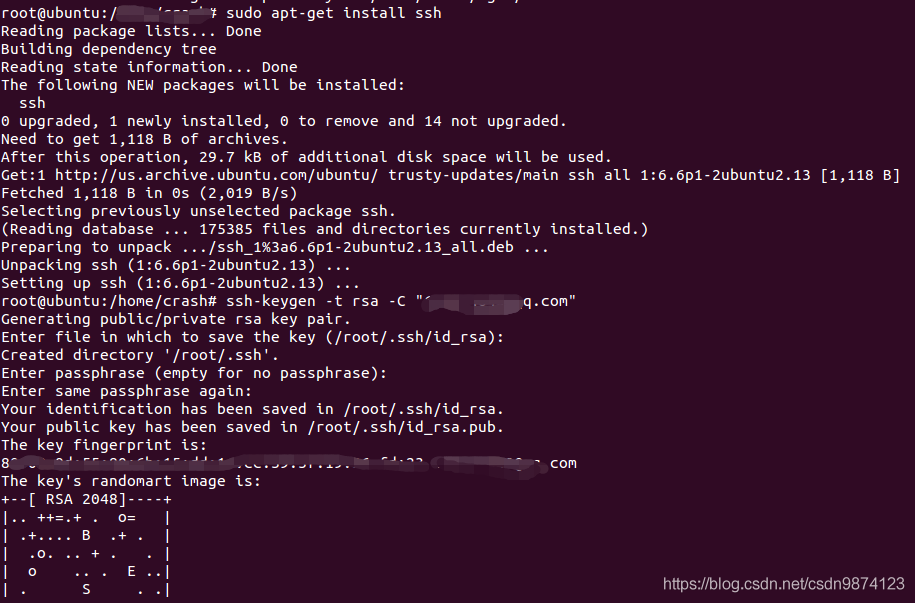
- 安装ssh
sudo apt-get install ssh
ssh-keygen 会确认密钥的存储位置和文件名(默认是 .ssh/id_rsa),然后他会要求你输入两次密钥口令,留空即可。所以一般选用默认,全部回车即可。 如下图所示
- 创建密钥文件
ssh-keygen -t rsa -C "你的github账号邮箱"- 将公钥添加到GitHub账户
(1)将id_rsa.pub文件内容全部复制;
(2)登陆到GitHub 上,右上角小头像->Setting->SSH and GPG keys中,点击new SSH key。
- ssh测试
ssh -T git@github.com结果为这个 则表示成功:
8. 使用使用 git clone https://github.com/Z3Prover/z3.git ,测试是否真的成功?
在别人的机器上又报了如下错误:
- 原因是你的git buffer太低了。为解决上述报错,需要执行:
git config --global http.postBuffer 50M
再次执行 git clone的命令 就好了
 8. 使用使用 git clone

6.安装pwntools
pwntools是pwn最常用的一个python包。
首先需要安装pip:apt install python3-pip
然后安装pwntools:pip install pwntools
完成
7.ubantu如何运行exe可执行文件
命令:sudo apt-get install wine
- Title: ubuntu重新配置pwn环境
- Author: Juana_2u
- Created at : 2024-04-02 19:55:47
- Updated at : 2024-04-02 19:57:08
- Link: https://juana-2u.github.io/2024/04/02/ubuntu重新配置pwn环境/
- License: This work is licensed under CC BY-NC-SA 4.0.